Where to Find Breyer This Holiday Season
A guide to nearly 100 physical retailers across 39 states!


Model horses love treats!
Model horses are fairly easy keepers. Being smaller than regular horses, they take up much less room. They are undemanding of attention, mostly, if you can resist their temping little faces begging for treats and attention. So, what do you do if you horse wants a treat, but you don't have one? Simple. You can MAKE them! Model horse treats are easy to make, if you know how!
Horses love carrots and apples, and even sugar cubes and horse cookies! Oven bake clay is a wonderful way to make little items to store in your treat bin. It comes in many different colors, or you can get just one color and paint it however you want. Either way, it is a fun way to make little accessories for your horses. Let’s explore how to make some common treats!
Step one, choose your clay. You can either get the plain clay or colored clay. This is found in most craft stores and online. I decided to go with the pre-colored clay, so I choose red, white, orange, green and brown. I put down a piece of parchment paper to protect my surface.

Lets make the carrots first. Pinch a little piece of clay from the block and roll it around until you have a little snake. You can make many little snakes! Try and shape it like you would a carrot. They are not always uniform in size. Play with what you think looks carrot-like. I made baby carrots, too.

When you are done making little carrots, you can take a tiny piece of green and add it on the top if you want. Many bagged carrots don’t have this, so it is not absolutely necessary. Put your carrots on a baking sheet lined with a piece of parchment paper, wash your hands, and let’s make apples!

Large and baby carrots
Apples are easy! Pinch your red clay and roll it! If you decided to get green clay as well, you can add some to the red to make a McIntosh apple. Shape those little circles then squish them just a little.

Use a real apple for inspiration!
With a toothpick or a pointy object like a pencil, you can make a little indent to show the top of the apple, and add a little brown stem.
 |
 |
|
Check with your horse to see if he likes them! |
Om non! Duende approves! Add a little bite mark and some white and you have a half-eaten apple. |
After making sure your hands are clean from the apples, (sometimes the red can stick to your hands) take your white clay and smoosh it down fairly flat on a surface safe to cut on. With a non-serrated knife, cut small strips. Then cut the other way to make tiny squares. Voila - sugar cubes! Carefully lift them off the cutting surface and spread them on the parchment paper with your apples and carrots.

Making sugar cubes
We now have 3 different treats! Since my horses are incredibly spoiled, I decided to go ahead and make molasses cookies as well. I took the brown clay and made little tiny heart shaped cookies with it, and added it to the pile of yummies. I mixed some white clay with the brown to get some variation.

Teeny tiny hearts!
I am ready to bake! Kids should ask an adult to help with the oven, and bake according to the clay manufacture’s instruction. Please make sure you keep your new horse cookies out of reach of pets and small children. They are tiny!

My cat wondering where *his* treats are.
If you used one-color clay, now is the time to paint your treats the appropriate colors. You can even paint the colored ones as well, if you want to add more details to them and make them more realistic. When the treats are done baking and are all painted, you are ready to feed your horses!
Being “extra” with your treats makes them even more believable.
I wanted to make a bag for my baby carrots. I used a small plastic bag and colored on it with permanent markers.

This would work for apples and big carrots as well.
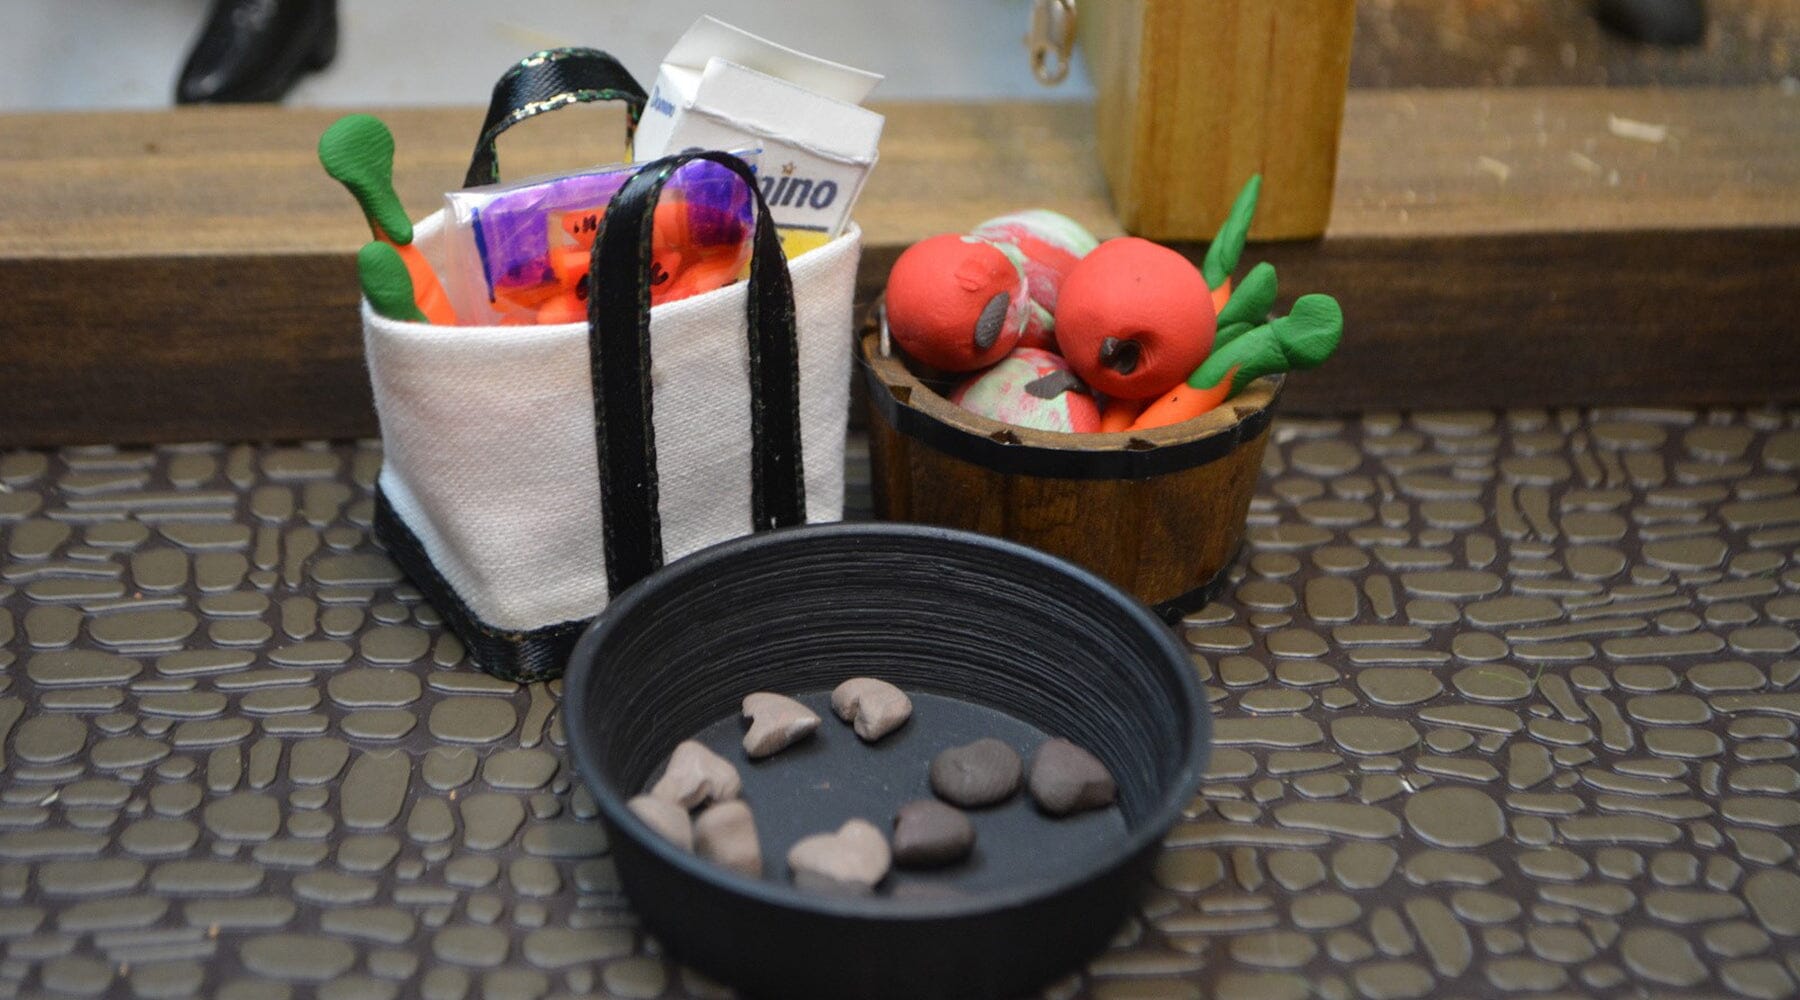
I filled my bag with my clay carrots and taped the back shut. I now have a mini bag of baby carrots!

Mini bag!
There are dozens of templates for miniature foods on the internet. I found one for sugar, and printed it out to give context to my miniatures.

Sugar template
Once everything was made, I brought everything to the barn and gave out my handmade, homemade treats. They were a hit with the horses!
 |
 |
 |
| My girls, in their excitement, spilled the sugar. |
Pro tip: Use tacky wax to help hold the props in place. |
Don’t forget to feed the ponies! |
You can find all sorts of cute storage containers at arts and craft stores, and online, for your miniature treats. Or you can make them!

What it looks like all together! Messy kids... I hope they clean that up.
Making horse treats is a really fun, easy and rewarding, way to create realistic extras for your set up. There are so many fun things you can make with clay that will add to the overall realism of whatever scene you are trying to create. Have fun!

All cleaned and put away before going riding.

A guide to nearly 100 physical retailers across 39 states!

A collection of exclusive models is now arriving at Tractor Supply stores just in time for the holiday season!

We're making room for exciting new 2026 additions!
